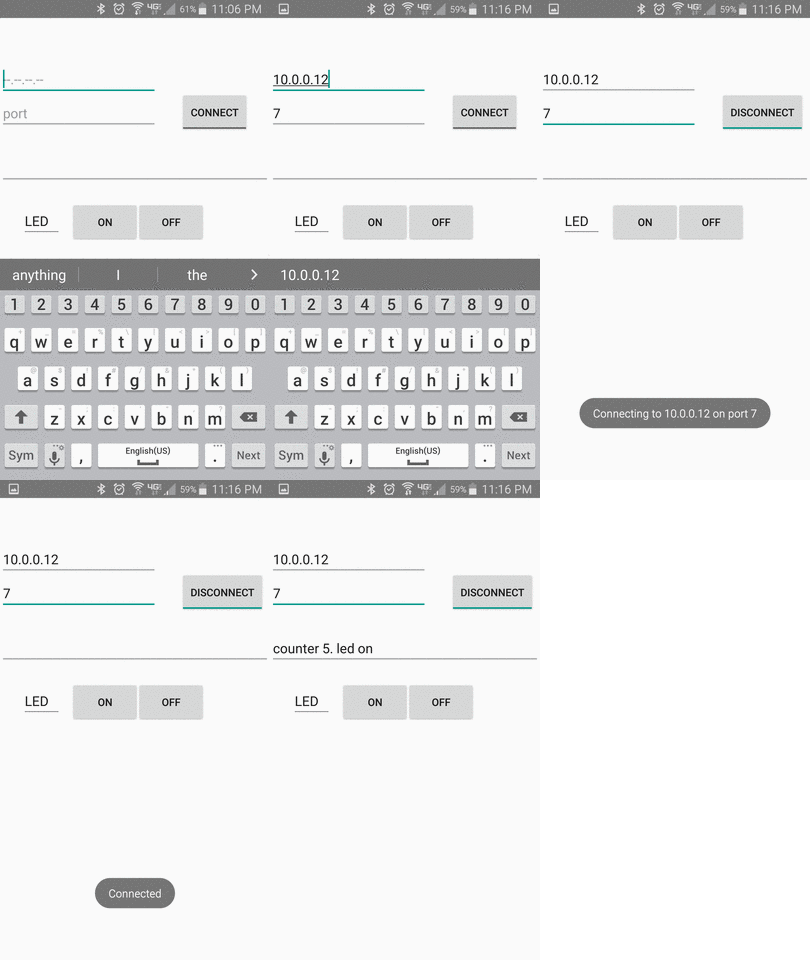
Intro
A simple client to test TCP communication to an Ethernet PIC project.

Software design
Layout
This project uses Relative and Linear layouts. A single Relative layout could be used, but things get messy when there’s more than a few components. Moving one component when there’s other components whose position is relative to the moved component will cause undesired movement of those relative components. Renaming a component will break the relative location of other components and the renamed component.
Putting a Layout in another Layout helps manage component placement. Components that are stacked horizontal or vertical can be grouped in LinearLayout within the RelativeLayout.
Permissions
Only the permissions the App needs should be set. This App needs to be able to open a socket. Check Manifest.permission and search socket shows that “INTERNET” permission is the whats needed. This is added in AndroidManifest.xml.
<uses-permission android:name="android.permission.INTERNET"/>
Open a socket.
A Socket shouldn’t be opened on a UI activity, it will need to run on another thread. From the UI activity start a thread. This thread is arbitrarily named ClientThread.
new Thread(new ClientThread()).start();
In the ClientThread, open a socket
class ClientThread implements Runnable {
  public void run() {
  try{
    socket = new Socket(ip, port);

    }catch (UnknownHostException e){
      e.printStackTrace();
    }catch (IOException e){
      e.printStackTrace();
    }
  }
}